The last few weeks have been very exciting. We’ve moved through production, testing, and packing.
Production
Since the energyShield is basically just an assembled, printed circuit board (PCB) its manufacturing process is essentially the PCB assembly process. The process begins with a PCB design (that’s what we did) and a parts list. The manufacturer (Jaycon Systems) took the design of one energyShield and had it made into panels of 12 energyShields (seen in update #17) to increase production efficiency. In the manufacturing line the panels begin by making their way through a stenciling machine. This machine uses a stencil, that matches the energyShield, to spread solder paste on to all of the solder pads, in the correct amounts. Once the solder paste has been applied, the panel moves into the “pick and place” (PNP) machine.

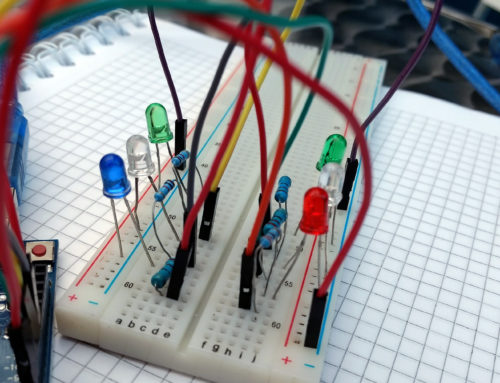
Reels of components are loaded into the PNP on feeders (bottom of the picture). This PNP has multiple vacuum pickup nozzles, so it picks multiple parts at a time. After the PNP picks the parts, it passes them over a laser scanner (silver box, with a white rectangular area on top, in the middle of the feeders) it determine the exact orientation of each component that was picked. The PNP then rotates and places each part in it’s appropriate spot, in the correct orientation. This entire process in completed every couple seconds. The PNP was able to place the components on 12 energyShield (1 panel) in about 20 minutes. When Jordan and I assembled the prototypes by hand it took us about an hour to place the components on three… Once all of the components are placed, the panel is fed into a reflow oven. The reflow oven uses a precise rate of heating and cooling to melt the solder while not over heating the components.

Now the energyShields have been assembled. After the oven they are automatically placed into a rack to wait to be separated and tested.

Testing
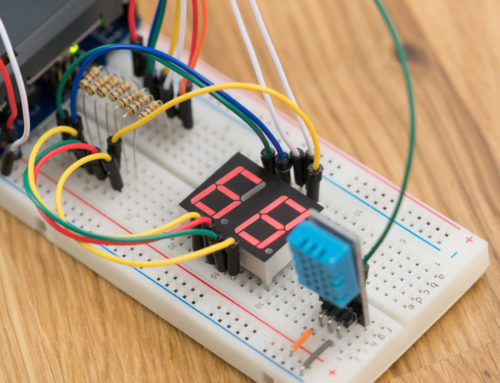
After each energyShield has been separated, visually inspected, and had their edges sanded smooth, it is put through a series of tests and the EEPROM of the fuel gauge is flashed with some necessary settings. This is accomplished with a tester that was designed and built for this purpose by us (NightShade Electronics).

A newly assemble energyShield (no pins) is placed on top of this test stand and pressed into the pogo pins, which contact the key terminals on the energyShield. The Arduino Leonardo on the test stand detects that an energyShield is connected an begins the procedure. The Procedure:
- Connect Power to ADPin
- Power: Test Vbat (raw voltage output) under no load
- Power: Test Vbat (raw voltage output) under low load
- Power: Test Vbat (raw voltage output) under high load
- Power: Test 3.3V under low load (the 3.3V regulator requires a load to operate correctly)
- Power: Test 3.3V under high load
- Power: Test 5V under no load
- Power: Test 5V under low load
- Power: Test 5V under high load
- I2C: Read Temperature from fuel gauge to test communications
- I2C: Write custom setting and burn into EEPROM with 14V programming voltage (Vprg)
- Disconnect power
Incredibly… The test stand is able to accomplish all of this in as little as 3 seconds. Every energyShield has gone through this test (and passed).
Packing
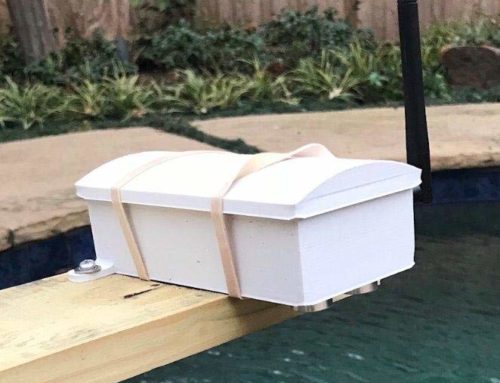
After testing, every energyShield was sealed in a static-free baggie and delivered to us. Then we began the process of kitting all of the other pieces and packing everything neatly into the energyShield boxes.

Yesterday we packed the rewards for the different tiers. Finally, they are ready to ship!


Once the address changes are locked (I didn’t realize it would give another 48 hours when we disabled changes) we can begin labeling and shipping! I expect we will be mailing them over the next week! We will keep you posted as the shipping commences. Thanks for your continued support! The NightShade Team
Leave A Comment
You must be logged in to post a comment.