
Difficulty: EASY Estimated Time: 1-3 Hours
Summary:
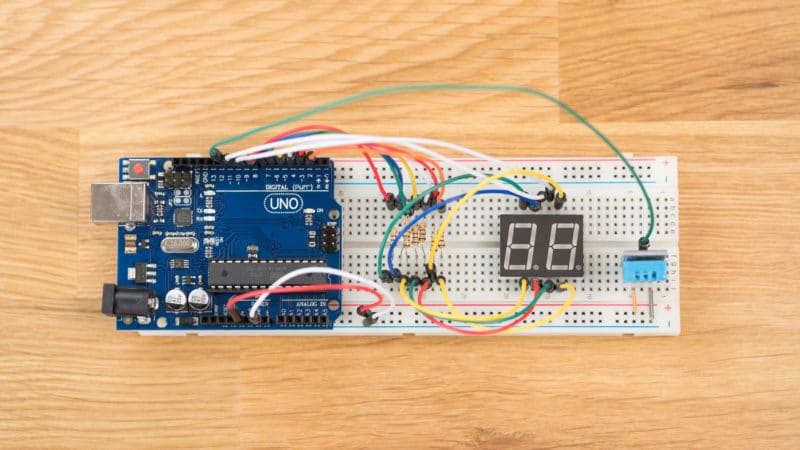
In this project, you will make an Uno board read the temperature from a DHT11 temperature and humidity sensor, and then the Uno will display the temperature on the 2-digit 7-segment LED display. This project is a great starter project to get comfortable with electronics and the Arduino ecosystem or an excellent project to work through with your kids over the weekend.
Required Parts:
Steps:
Setup Arduino IDE
Before beginning this project, be sure that the Arduino IDE is properly installed on your computer. This tutorial will walk you through the installation process: http://nightshade.net/knowledge-base/intro-to-arduino-how-to-begin/
Assemble the Circuit
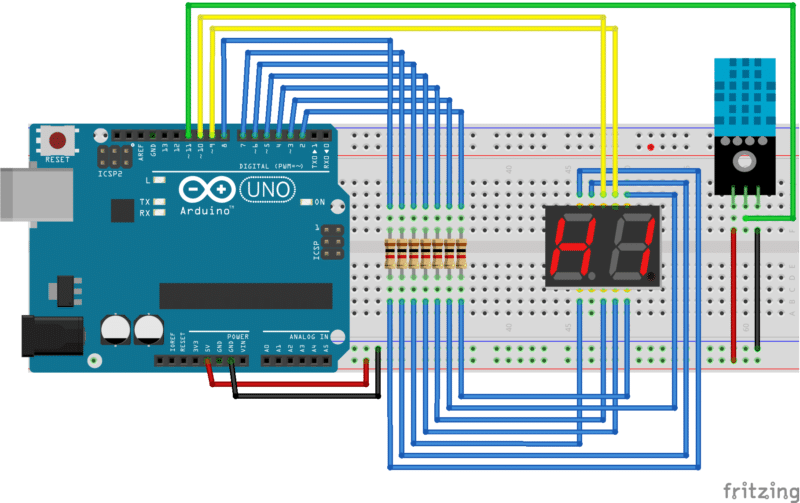
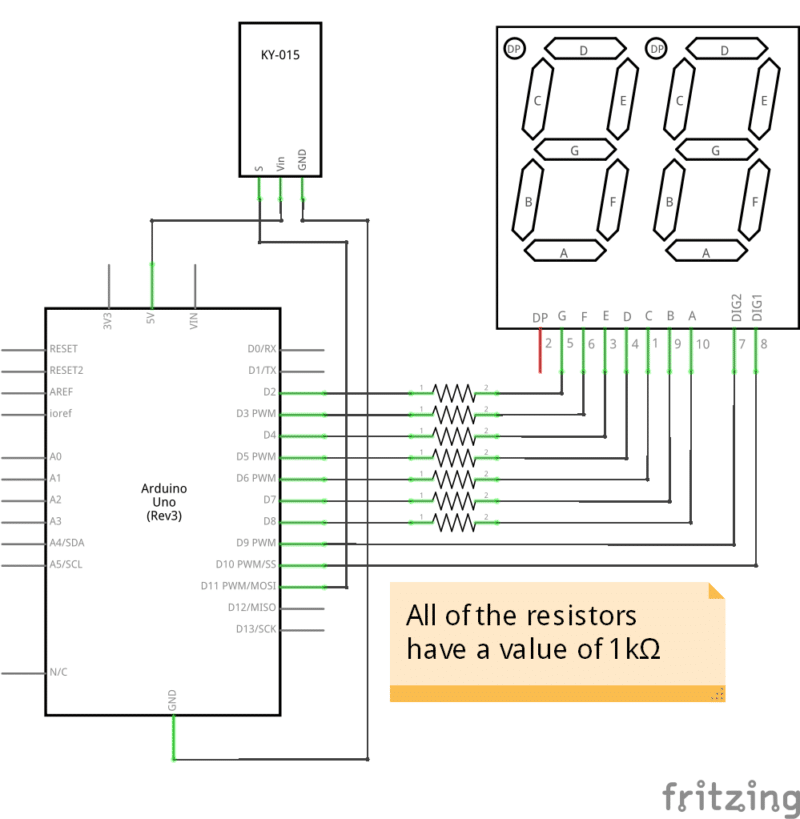
The first step in this project is assembling the electronic circuit on the breadboard. Follow this diagram and schematic as you connect the LED display and DHT11 sensor to your Uno board.
Program the Microcontroller Board
Once you have the hardware wired properly, it is time to program the Uno microcontroller board. The Uno has to be programmed to read the temperature sensor and then display the temperature on the 7-segment LED display. For more explanation of the programming process, take a look at our Basics of Writing a Sketch article.
DHT11 Temperature & Humidity Sensor
The DHT11 is a digital sensor that measures the temperature and humidity of the air. These values are read from the sensor using a special, one-wire serial communication protocol. There are several libraries available that take care of the intricacies of the communication so that you can focus on your main goals.
7-Segment Displays
Each character of the 7-segment display is made up of seven individual LEDs that have to be lit up together to form numbers. Numbers are converted into the appropriate LED configuration with a table in the software. This can also be done with a software library.
Example Software
This is a sketch example that will read the DHT11 and display the temperature on the LED display. This sketch uses the DHT Sensor Library and the SevenSeg Library to control the display.
#include <dht.h>
#include <SevenSeg.h>

// Define SevenSeg opject and hardware pins
SevenSeg disp(8, 7, 6, 5, 4, 3, 2);
const int numOfDigits = 2;
int digitPins[numOfDigits] = {10, 9};

// Define DHT11 object and hardware pin
dht DHT;
const int DHT11_Pin = 11;

// Define global variables
unsigned long lastUpdate = 0;
const int updateInterval = 2500; // 2500 ms
int temperatureF;


void setup() {

  // Setup 7-segment display library
  disp.setCommonCathode();
  disp.setDigitPins(numOfDigits, digitPins);

}

void loop() {

  // Read DHT11
  DHT.read11(DHT11_Pin);

  // Convert temperature to Farenheit
  temperatureF = (float) DHT.temperature*9/5 + 32;

  // Store the time when the temperature was updated
  lastUpdate = millis();

  // Display the temperature on the 7-segment display until it is time to update
  while (millis() < lastUpdate + updateInterval) disp.write(temperatureF);

}
Upload the Code
Now that you have your program code ready, go ahead and upload it to the Uno board. Don’t be discouraged if you hit some bumps along the way. You’ll get there and learn with each problem you overcome. Take a look at our Uploading a Sketch article as a guide to help you upload your sketch.
Battery Power
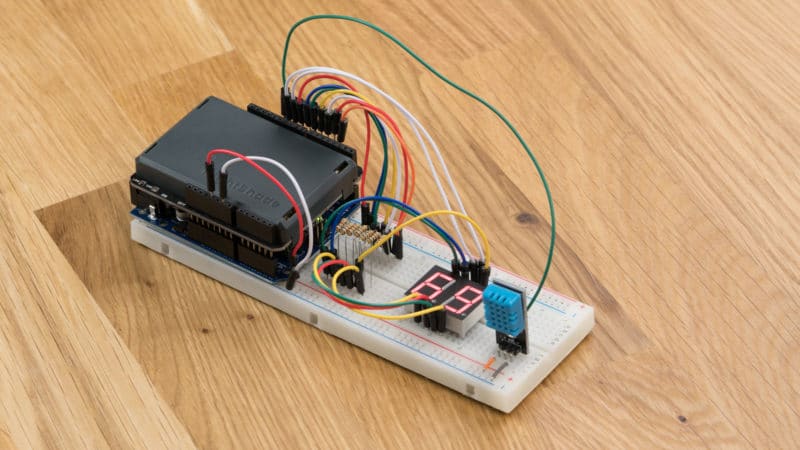
At this point, the project is functioning, but it still has to be plugged into the computer to be powered. An energyShield 2 Basic can be added to your project to provide it with rechargeable battery power. Just move the wires from the Uno headers to the corresponding energyShield headers and then connect the energyShield to the Uno headers. Unplug the USB cable, switch on the energyShield, and you can take your new temperature sensing project anywhere!
Resources
These resources offer further explanation of the elements in this project.
- Arduino Tutorials
- Electrical Component Tutorials
- Circuit Basics Tutorials
- SevenSeg Arduino Library
- DHT Arduino Library
-

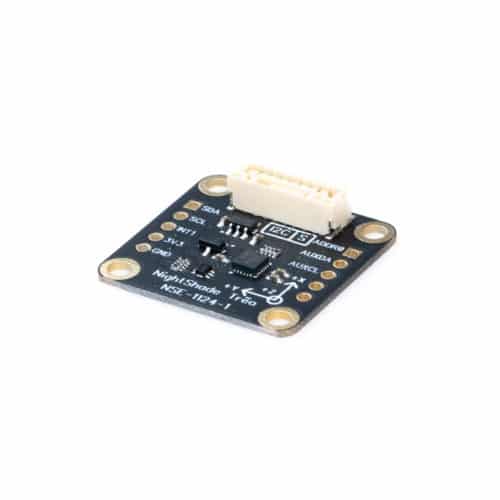
- 3-Axis Accelerometer
- FSR of ±2g, ±4g, ±8g, or ±16g
- 3-Axis Gyroscope
- FSR of ±250dps, ±500 dps, ±1000dps, or ±2000dps
- 3-Axis Compass
- FSR of ±4900µT
- On-Chip 16-bit ADCs and Programmable Filters
- Digital-output temperature sensor
- 3-Axis Accelerometer
-
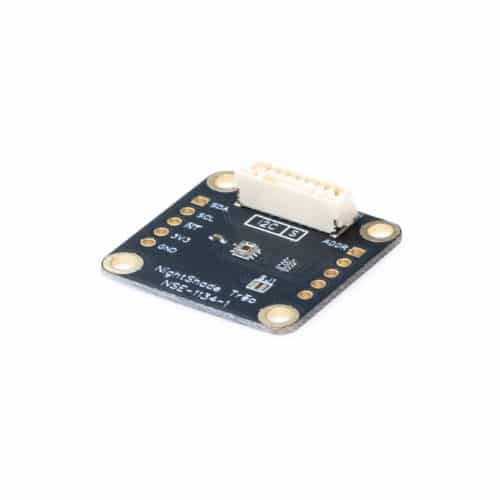
- Texas Instruments OPT3002
- Wide Optical Spectrum: 300 nm to 1000 nm
- Automatic Full-Scale Setting Feature Simplifies Software and Configuration
- Measurement Levels: 1.2 nW/cm2 to 10 mW/cm2
- 23-Bit Effective Dynamic Range with Automatic Gain Ranging
- 12 Binary-Weighted, Full-Scale Range Settings: <0.2% (typ) Matching Between Ranges
-
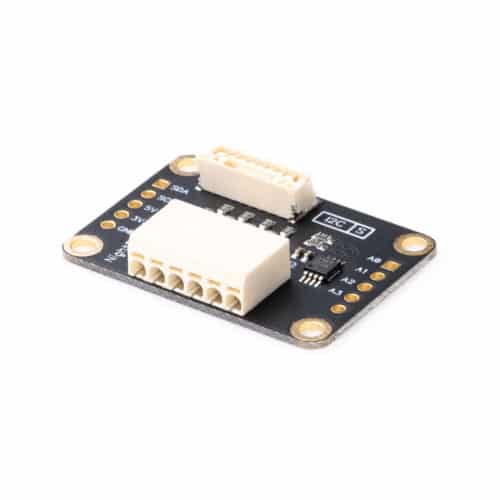
- 0 - 40V Range
- 12-Bit Resolution
- 4 Single-Ended Channels or 2 Fully Differential Channels
- Internal Voltage Reference
- 5MHz Bandwidth (-3dB)
-
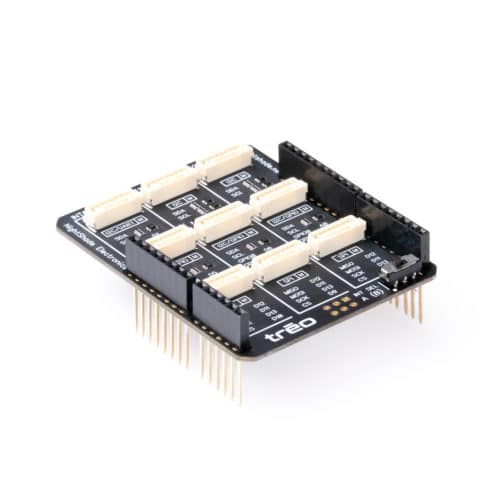
- Adapts Trēo to All Arduino Uno Style Boards
- Arduino Boards
- STM32 Nucleo Boards
- Compatible with 5V or 3.3V Boards
- 9 Trēo™ Connectors
- 6 I2C
- 3 SPI
- 3 GPIO
- 1 UART
- RoHS Compliant
- Adapts Trēo to All Arduino Uno Style Boards
Leave A Comment
You must be logged in to post a comment.