2. Selecting Parts for Your Project
When you begin a project you have to consider all of the inputs, outputs, and processing requirements of your project.
Through this tutorial series we’ll consider the application a pressure controlled vacuum chamber. The vacuum chamber will be connected to a vacuum pump that is running whenever the system is on. The processor will control the level of vacuum in the chamber by opening and closing a solenoid valve between the vacuum pump and the chamber. The pressure is read from a pressure sensor that is attached to the pressure chamber. The input of this application is the pressure sensor while the output is the solenoid valve. In regards to processing power, monitoring the pressure value and controlling the solenoid will require minimal processing power. Now that we understand the requirements of the project, we can begin to select the Trēo hardware that will interface with the system.
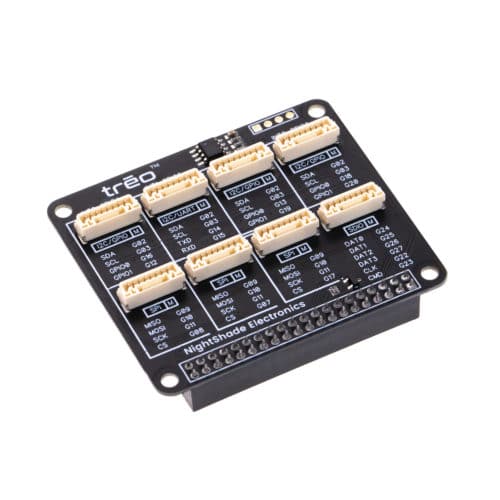
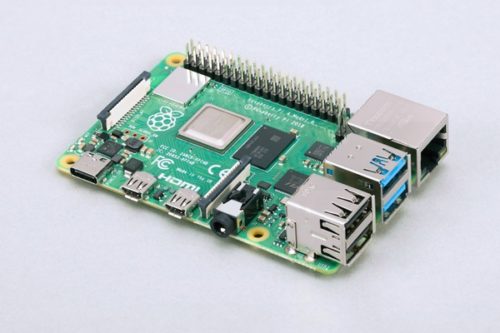
Let’s begin by choosing a processor development board. This application only requires minimal processing, so the processing power is not a large factor in this choice. We could choose as Arduino Uno board for it’s simplify or we choose a Raspberry Pi for some of its more advanced features (HDMI Video, WiFi, Bluetooth, Python programming). In this tutorial, we will proceed with the Raspberry Pi assuming that we’ll eventually log the chamber pressure to a cloud computer. Along with the Raspberry Pi we will need a Trēo Raspberry Pi HAT adapter to bridge the Raspberry Pi to the Trēo system.
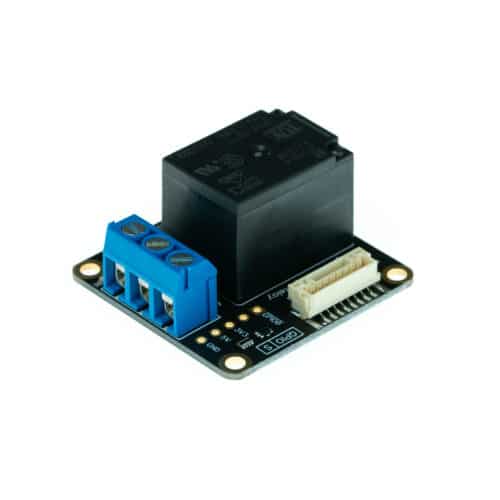
The solenoid valve will be operated by a voltage much higher than that of the Raspberry Pi (or most other processors) such as 12VDC, 24VDC, or 120VAC. Any of these voltages can be switched using the Trēo relay module which makes it the correct choice for this application.
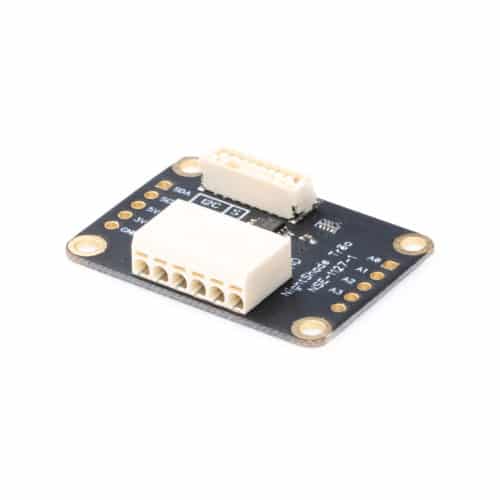
Finally, we need to connect a pressure system to the Trēo system. Pressure transducers come in many different voltage supply and output configurations. Most often, they require a DC input voltage and provide an analog voltage signal output. The Trēo system has a 4.1V ADC module that will read an analog voltage between 0 and 4.1V DC and it also provides a 5V source voltage on the terminal block. We will use this module and choose a pressure transducer that can operate from a 5V supply and outputs a voltage between 0 and 4.1V in the pressure range of interest.
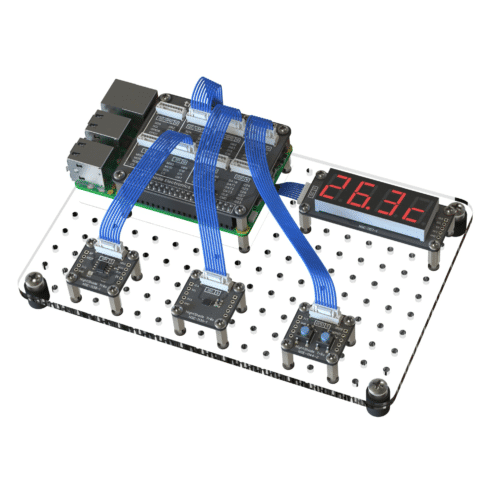
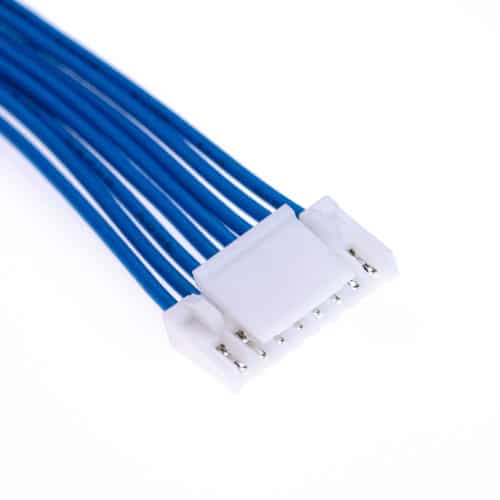
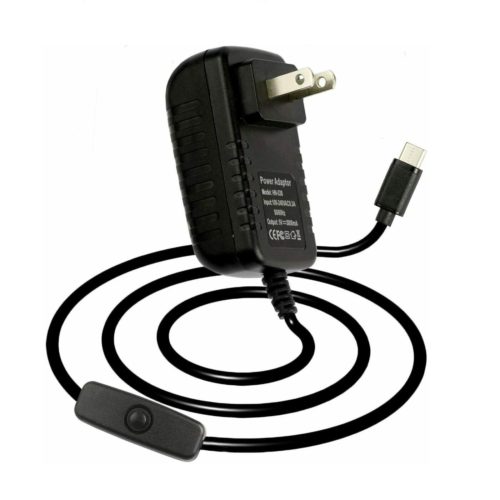
Now we have selected the Trēo hardware that we will need for this application. We will also need to add a power supply and microSD card for the Raspberry Pi, some Trēo cables to connect the modules to the HAT adapter, and a Trēo Grid-Mounting Plate to mount the Raspberry Pi and Trēo Modules.
With all of our parts selected, we’ll move on to wiring them all together in the next article.